Affiliate Disclosure: This post contains affiliate links. If you purchase through these links, All In the Grind earns a small commission at no extra cost to you. We only recommend products we genuinely believe in.
The moka pot is one of the most misunderstood pieces of coffee gear on the planet. Buy one, make a few batches that taste like scorched motor oil, and most people shove it in the back of a cabinet forever. That’s a shame — because when you dial it in, a stovetop moka pot produces a rich, concentrated, intensely aromatic brew that sits in a category all its own.
This isn’t espresso — and pretending otherwise is where most people go wrong. It’s something better suited to its own appreciation: bold, syrupy, and deeply satisfying. Here’s everything you need to know to stop burning it and start loving it.
What Is a Moka Pot, Exactly?
Invented by Alfonso Bialetti in 1933, the moka pot uses steam pressure to push near-boiling water up through a bed of ground coffee. The result is a concentrated brew — not espresso by the technical definition (true espresso requires 9 bars of pressure; a moka pot generates around 1.5–2 bars), but something far stronger and richer than drip coffee.
The classic design has three chambers: a bottom reservoir for water, a funnel-shaped filter basket for coffee grounds, and a top collection chamber where your finished brew appears. Elegant, durable, and virtually indestructible. The original Bialetti Moka Express is still one of the best-selling coffee products on Amazon for good reason.
If you don’t own one yet, the Bialetti Moka Express is the benchmark — aluminum construction, available in multiple sizes from 1-cup to 12-cup, and built to last decades with basic maintenance.
The Right Grind Makes or Breaks the Brew
Grind size is the single biggest variable between a moka pot that tastes great and one that tastes like regret. The common mistake: grinding too fine. Many home brewers use espresso-fine grounds in a moka pot, which creates excessive resistance, builds too much pressure, and forces over-extracted, bitter coffee.
What you want is a medium-fine grind — finer than drip, coarser than espresso. Think the texture of fine sand, not powder. If you’re pressing the grounds together and they clump like a puck, you’ve gone too fine.
For consistent results, a burr grinder is non-negotiable. Blade grinders produce uneven particle sizes that create channeling — where water punches through weak spots in the bed rather than extracting evenly. The Timemore C3 hand grinder hits a sweet spot of precision and affordability for stovetop brewing, and the Baratza Encore is the go-to electric option if you’d rather not crank by hand.
Step-by-Step: Brewing a Great Moka Pot
What You’ll Need
- Moka pot (stovetop-compatible or induction if needed)
- Freshly ground coffee, medium-fine
- Pre-heated filtered water
- A stovetop burner (gas, electric, or induction with an adapter)
The Process
Step 1: Pre-heat your water. This is the single most impactful technique most guides skip. Fill your bottom chamber with hot water — not cold — up to the safety valve. Starting with hot water means the pot reaches brewing temperature faster, which means the coffee grounds spend less time sitting in a slowly-heating environment getting baked before extraction even starts. Cold-start brewing is one of the primary causes of bitter moka pot coffee.
Step 2: Fill the basket level, don’t tamp. Add your medium-fine ground coffee to the filter basket until it’s full and level. Do not press it down or tamp. Unlike espresso, you want the grounds loose enough to allow water to flow through at low pressure. Heap it slightly, then brush the excess off the edges so the gasket seals cleanly.
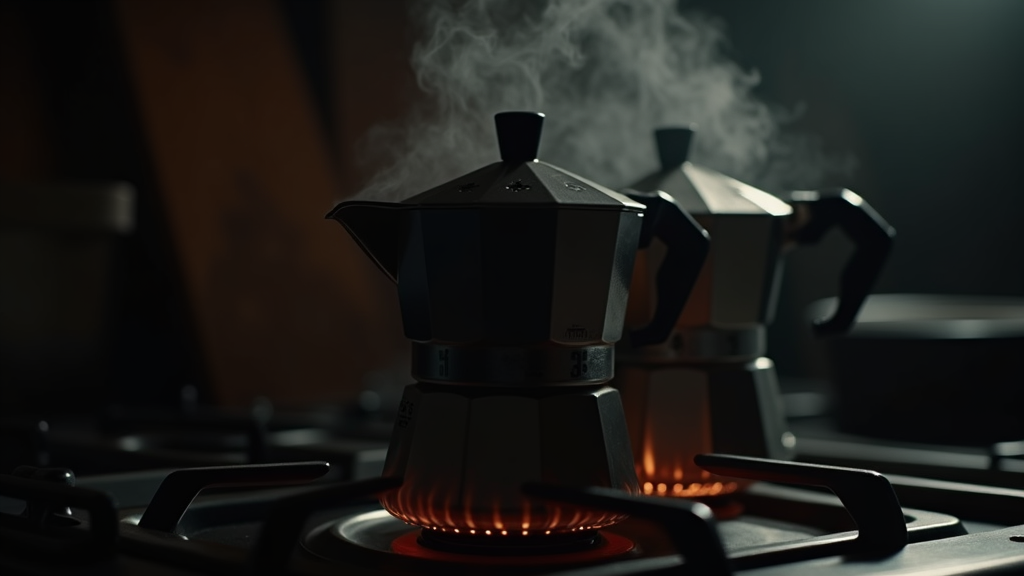
Step 3: Assemble and place on low heat. Screw the top and bottom together tightly — use a dry towel to grip if you’ve pre-heated the water, as the bottom will be warm. Place on the smallest burner available on low-to-medium heat. The goal is a slow, controlled extraction over about 4–5 minutes. High heat is your enemy here.
Step 4: Watch and listen. Keep the lid up so you can monitor what’s happening. Once the water begins forcing through, you’ll see a steady stream of coffee flowing into the upper chamber. When the stream starts to sputter and turn blonde and foamy — that’s your cue. Remove from heat immediately. That sputtering phase is where over-extraction happens if you let it run.
Step 5: Stop the extraction fast. Run the bottom of the moka pot under cold water for a few seconds to halt the brewing process and prevent residual heat from continuing to extract. Pour immediately.
Choosing the Right Coffee for Moka Pot
The concentrated, high-temperature extraction of a moka pot tends to amplify harshness in low-quality beans. You don’t need to spend a fortune, but you want freshly-roasted coffee — ideally within 2–4 weeks of the roast date.
Roast level matters too. Medium to medium-dark roasts are the sweet spot. Light roasts can taste sour and underdeveloped when brewed under moka pot pressure. Very dark roasts lean into the bitterness already present in the brewing method. A medium roast with a full body — think Brazilian, Colombian, or Italian-style blends — is where this brewing method shines.
For beans worth reaching for, Lavazza Super Crema is a classic Italian choice that performs beautifully in a moka pot — creamy, nutty, and built for concentrated brewing. illy Classico is another perennial that’s easy to find and consistently dialed in for stovetop brewing.
Troubleshooting: Why Your Moka Pot Tastes Bitter
Heat Too High
The most common culprit. Crank the flame and you rush the extraction, burning the grounds on the way through. Low and slow wins every time.
Grind Too Fine
As covered above — espresso-fine grounds clog the flow, build pressure, and cause over-extraction. Coarsen up one or two notches on your grinder.
Over-Extraction in the Final Stage
Letting the pot sputter for 30 seconds after the brew breaks the surface is one of the most common mistakes. The moment you see blond foam and hear sputtering, kill the heat and hit it with cold water.
Coffee Sitting Too Long Before Brewing
Pre-ground coffee that’s been sitting in a bag for months will taste flat and harsh. Grind fresh if at all possible, or buy from a local roaster who puts a roast date on the bag.
Caring for Your Moka Pot
The aluminum in most traditional moka pots builds up a natural patina over time — a thin layer of oils that some believe improves flavor. For this reason, most experienced moka pot users avoid soap. Rinse with hot water, let it dry fully before reassembling (moisture left inside causes corrosion), and replace the rubber gasket annually or when you notice it deteriorating.
If you’re using a stainless steel model, soap is fine. The Bialetti Venus and Musa are popular stainless options that work on induction burners without an adapter — worth noting if you have a modern kitchen setup.
Moka Pot vs. Espresso Machine: When to Choose What
The moka pot will never replace a real espresso machine for pulling shots with crema and dialing in single-origin nuance. But for the home brewer who wants strong, concentrated coffee without the $500+ investment in an espresso setup, it’s genuinely one of the best values in all of coffee.
A 3-cup Bialetti costs around $35. The results, when done right, embarrass pod machines three times the price. For daily use, travel brewing, or anyone who wants a second coffee identity beyond their main setup, the moka pot earns its spot on the counter.
The Bottom Line
The moka pot doesn’t ask for much: hot water to start, low heat throughout, and the discipline to pull it off the burner before it overshoots. Master those three things, pair it with fresh medium-roast beans and a decent grinder, and you’ll wonder why you ever wrote it off.
It’s the most old-school piece of gear in specialty coffee culture — and it’s still standing for a reason.
Ready to get started? The Bialetti Moka Express is available in multiple sizes on Amazon — pick the 3-cup or 6-cup for the best balance of convenience and brew volume.
Leave a Reply